The instructions below apply to Cookie-Based integration.
If you are using API-Based integration, simply add the GA Connector script to your main website. No additional steps are required.
Not sure which instructions to follow? Start here: How to Check Which GA Connector Integration Type You’re Using.
Add Google Analytics data to Confact Form 7 with GA Connector’s Contact Form 7 integration.
GA Connector has a plugin for Contact Form 7, which allows to skip several steps and set up the integration without writing a single line of code.
Video tutorial:
Here is how install and configure this plugin:
1. Download the plugin here.
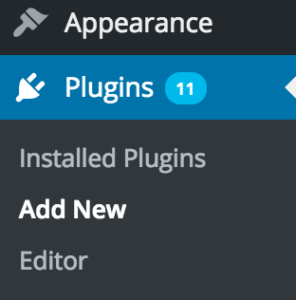
2. Go to your WordPress admin panel – Plugins – Add New.
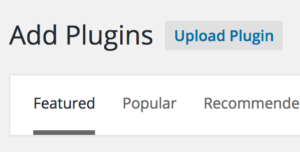
3. Click “Upload Plugin”
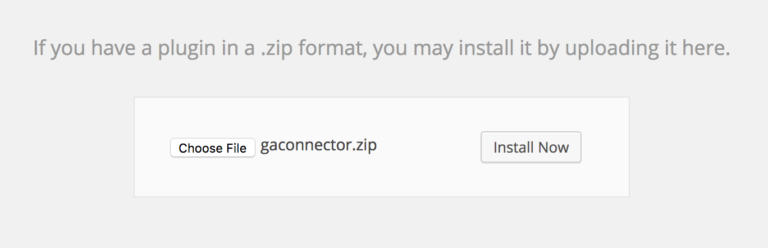
4. Choose file gaconnector.zip (downloaded during step #1) and click “Install now”.
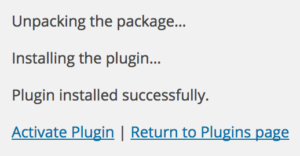
5. Click “Activate Plugin”.
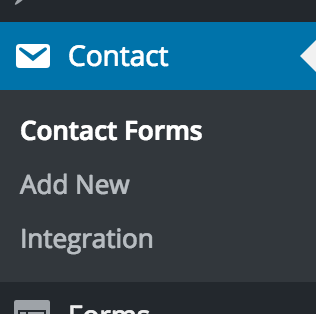
6. Click Contact – Contact Forms in your WordPress admin panel menu.
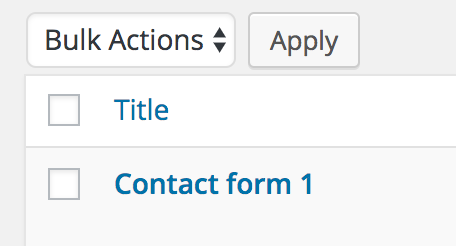
7. Find and click on the form that you want to start tracking.
8. Add the following code to the bottom of the form:
|
1 2 3 4 5 6 7 8 9 10 11 12 13 14 15 16 17 18 19 20 21 22 23 24 25 26 27 28 29 30 31 32 33 |
<div style="display:none;"> [hidden fc_campaign] [hidden fc_channel] [hidden fc_content] [hidden fc_landing] [hidden fc_medium] [hidden fc_referrer] [hidden fc_source] [hidden fc_term] [hidden lc_campaign] [hidden lc_channel] [hidden lc_content] [hidden lc_landing] [hidden lc_medium] [hidden lc_referrer] [hidden lc_source] [hidden lc_term] [hidden OS] [hidden GA_Client_ID] [hidden gclid] [hidden all_traffic_sources] [hidden browser] [hidden city] [hidden device] [hidden page_visits] [hidden pages_visited_list] [hidden region] [hidden time_zone] [hidden time_passed] [hidden longitude] [hidden latitude] [hidden ip_address] </div> |
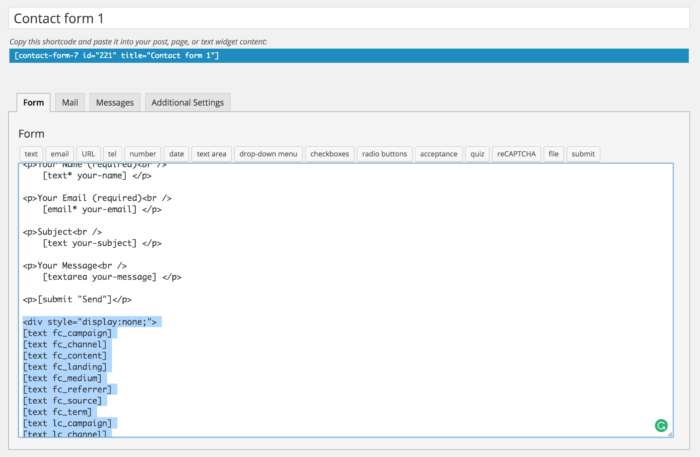
Viola! Now the form is being tracked! You can use the fields that you just added:
- Send them to your CRM as a part of the form submission.
- Send them to your email marketing software.
- Add them to the email that is being sent after each form submission.
In order to add these tracking fields, go to Mail (inside the Contact Form editor from step #8) and add this code:
|
1 2 3 4 5 6 7 8 9 10 11 12 13 14 15 16 17 18 19 20 21 22 23 24 25 26 27 28 29 30 31 32 33 34 35 36 37 |
GA Connector Tracking data: FIRST CLICK: FC campaign: [fc_campaign] FC channel: [fc_channel] FC content: [fc_content] FC landing page: [fc_landing] FC medium: [fc_medium] FC referrer: [fc_referrer] FC source: [fc_source] FC term: [fc_term] LAST CLICK LC campaign: [lc_campaign] LC channel: [lc_channel] LC content: [lc_content] LC landing page: [lc_landing] LC medium: [lc_medium] LC referrer:[lc_referrer] LC source: [lc_source] LC term: [lc_term] FURTHER INFORMATION Operating system: [OS] Google Analytics Client ID: [GA_Client_ID] Google Click Identifier: [gclid] All traffic source: [all_traffic_sources] Browser: [browser] City: [city] Device: [device] Page visits: [page_visits] Pages visited list: [pages_visited_list] Region: [region] Time Zone: [time_zone] Time Spent on Website: [time_passed] Latitude: [latitude] Longitude: [longitude] |
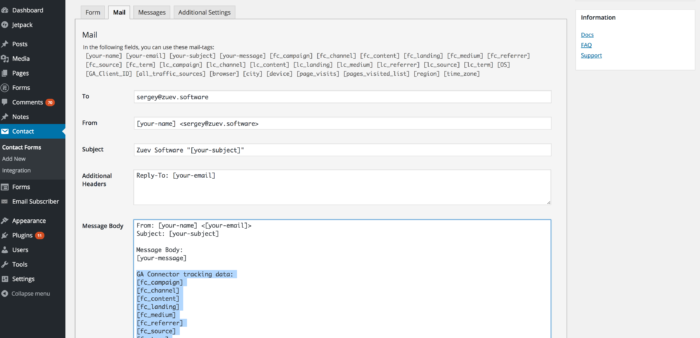
Viola! Now the tracking information is being added to each email from Contact Form 7:
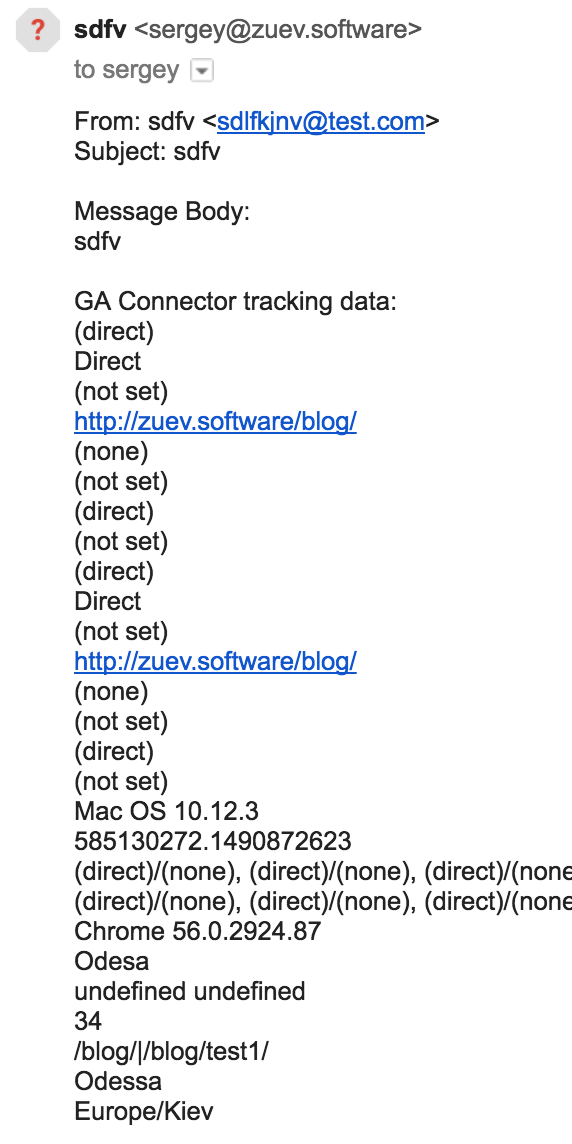
More than just UTM parameters
GA Connector adds UTM information, geolocation, referral information to your Contact Form 7 submissions.

